
Scheduled: You can schedule the robot when to trigger concerning Time, week, or Month.
-
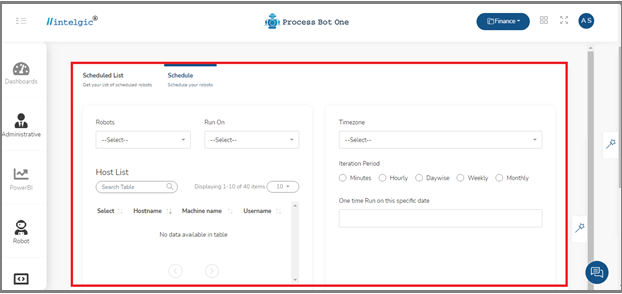
- The schedule section will be as shown below:
- Robots: The robot drop-down provides you the option to select the name of the robot, which you want to run.
- Run On: The run-on drop-down provides you the option to select the host either from Default or Specific.
- Time Zone: By clicking on the time zone you can select the time zone according to your location and then set the time according to your preference.
- The schedule section will be as shown below:
Let us see how to schedule a Robot in Process Bot One:
What is Schedule Robot: Schedules allow you to run jobs on Robots in a predetermined order and at regular intervals. You can assign Robots to different schedules based on the following parameters:
- Select Robot
- Specific or Default host
- Machine type
- Let us see how to perform this action in Process Bot One.
- Our first job is to log in to Process Bot One using our login credentials.
- Once, the Process Bot One window will open, click on Scheduled under Robot, on the left-hand side as shown below.
- Under Scheduled, we have two options called Scheduled List and Schedule.
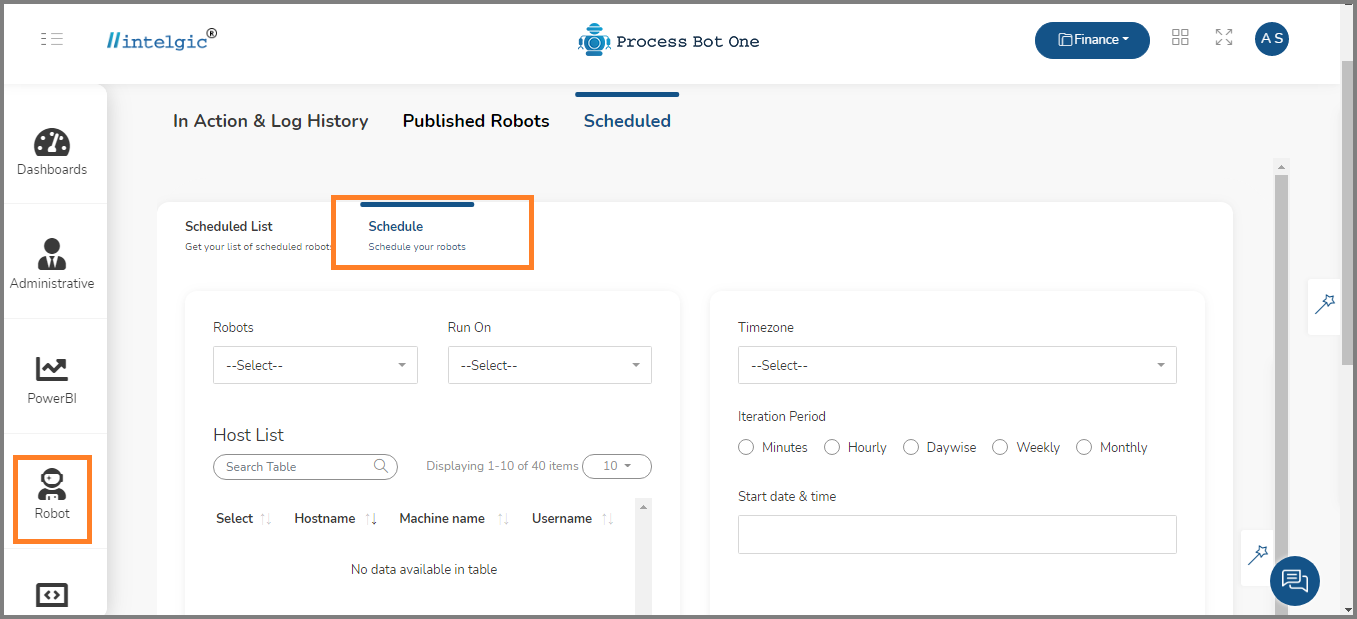
- The Schedule List contains a list of schedule robots. Click on Schedule to create a new schedule robot.
- Once you click on Schedule, the below page will be displayed, fillup in all the required details such as:
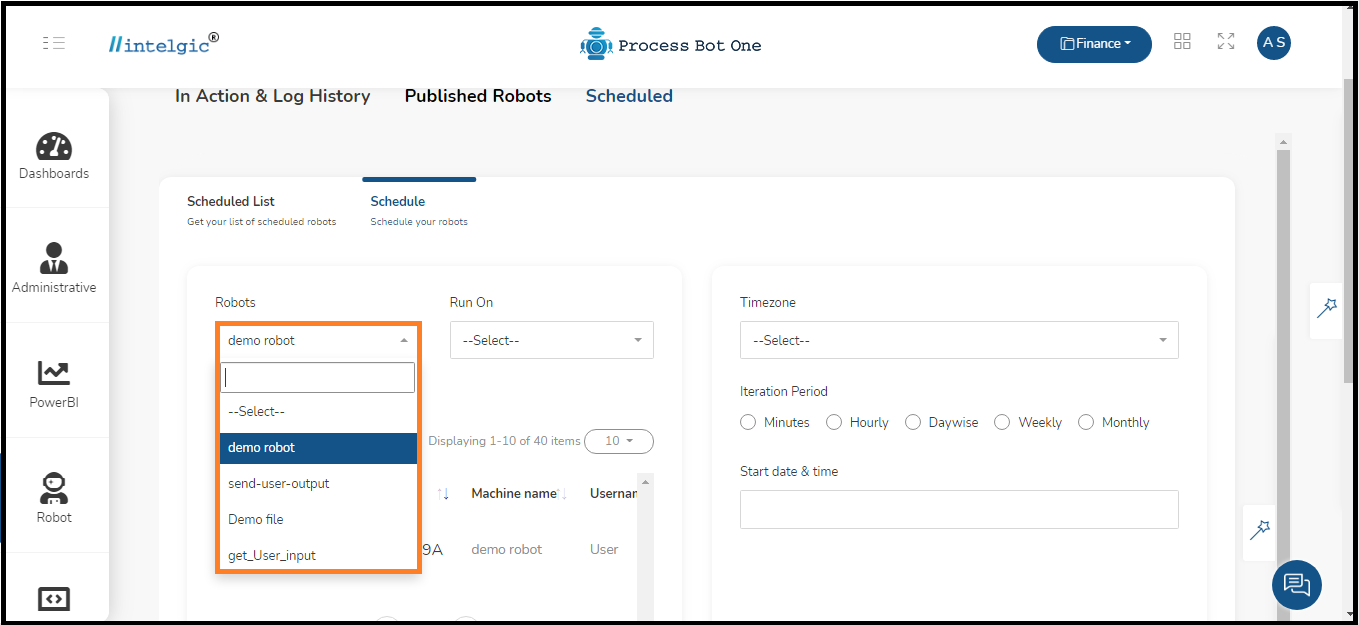
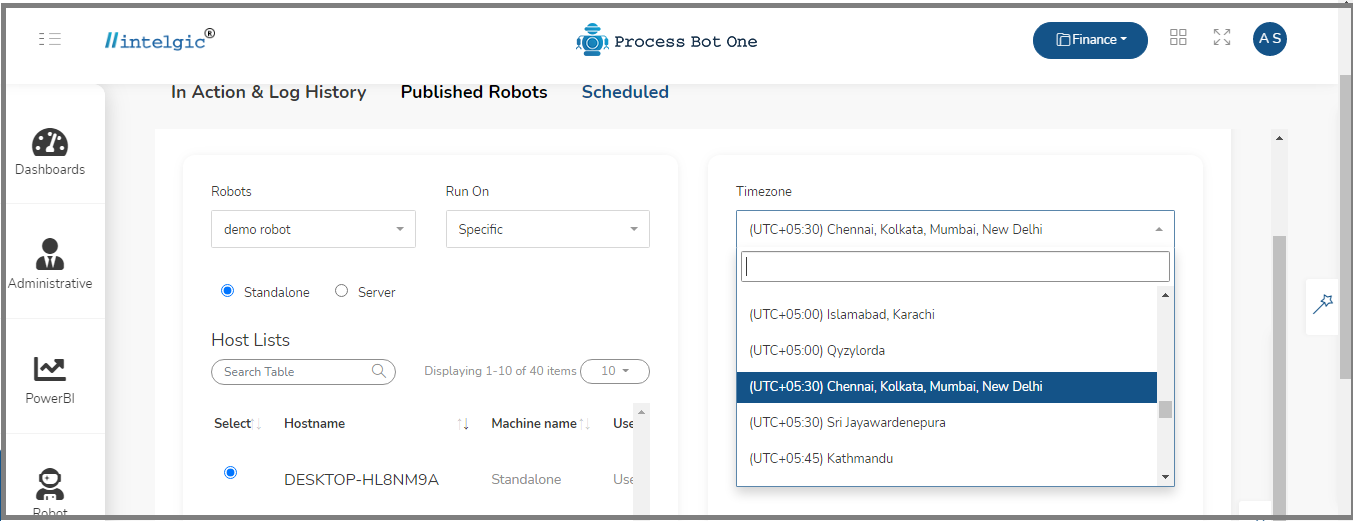
- Robot: Click on Robot drop-down list and select the robot to which you want to schedule.
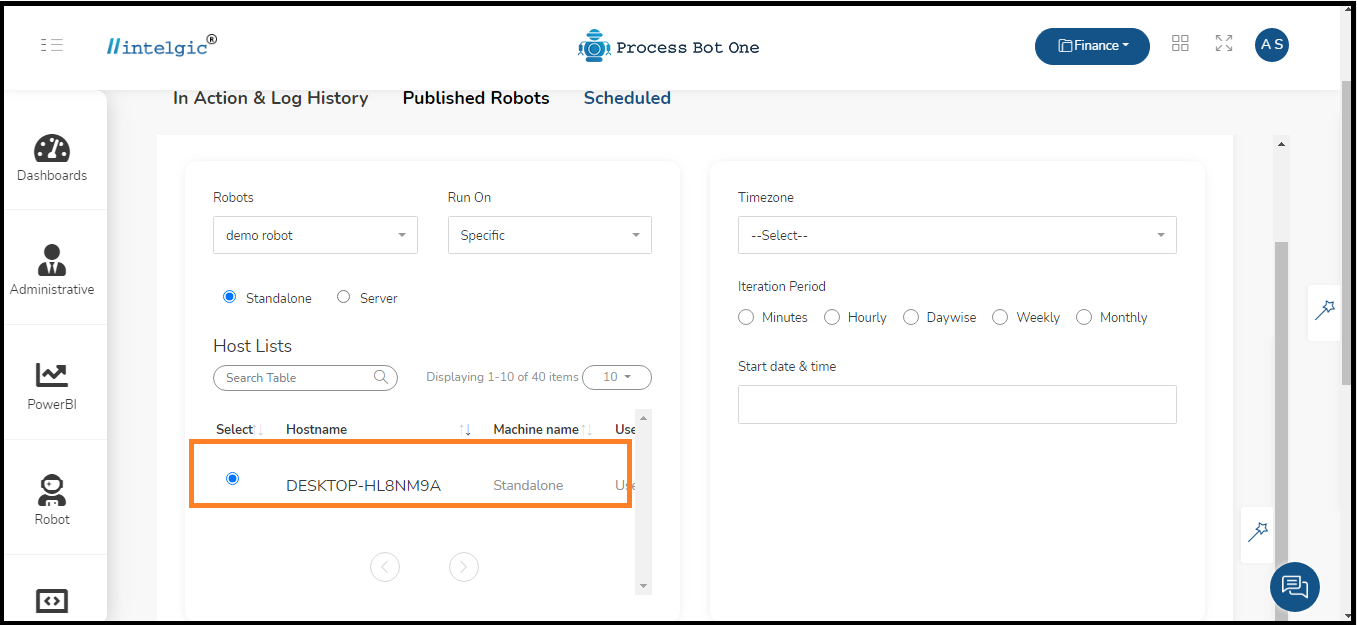
- Next, click on Run on Drop-down and select either Specific or Default server to run the scheduled robot.
- If you select specific, again you will get two options under it, such as Standalone and Server. you can select anyone you want to run on.

- Next, select the hostname, if you are connected with the system then your computer name will be displayed below as shown in the above image.
- Next, on the right side, we have a TimeZone option.
- Click on the Drop-down list and select the time zone of your place.
- Next, select the Iteration Period, here you can select the iteration period, we have options called
- Minutes: This option helps you to schedule your robot on a minute basis in the given interval of time.
- Hours: This option helps you to schedule your robot on an hourly basis in the given interval of time.
- Daywise: This option helps you to schedule your robot on a daily basis in the given interval of time.
- Weekly: This option helps you to schedule your robot on a weekly basis in the given interval of time.
- Monthly: This option helps you to schedule your robot on a monthly basis in the given interval of time.
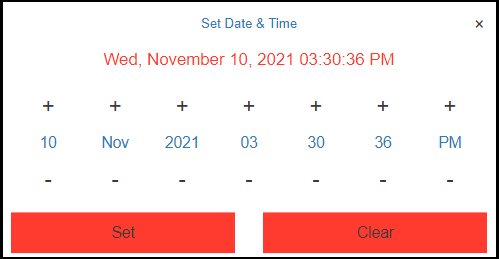
- In this example, I have selected minutes and then select the Start Date and Time.
- Once you click on the Start Date and Time, the pop-up window of set date and time will open, select the interval of minutes you want to schedule as below.
- Next, click on Add Schedule button on the Schedule window.
- Now the schedule becomes active and the selected robot will trigger at the given time.
- Now, go to the Scheduled List you will find the list of a robot that has been scheduled.
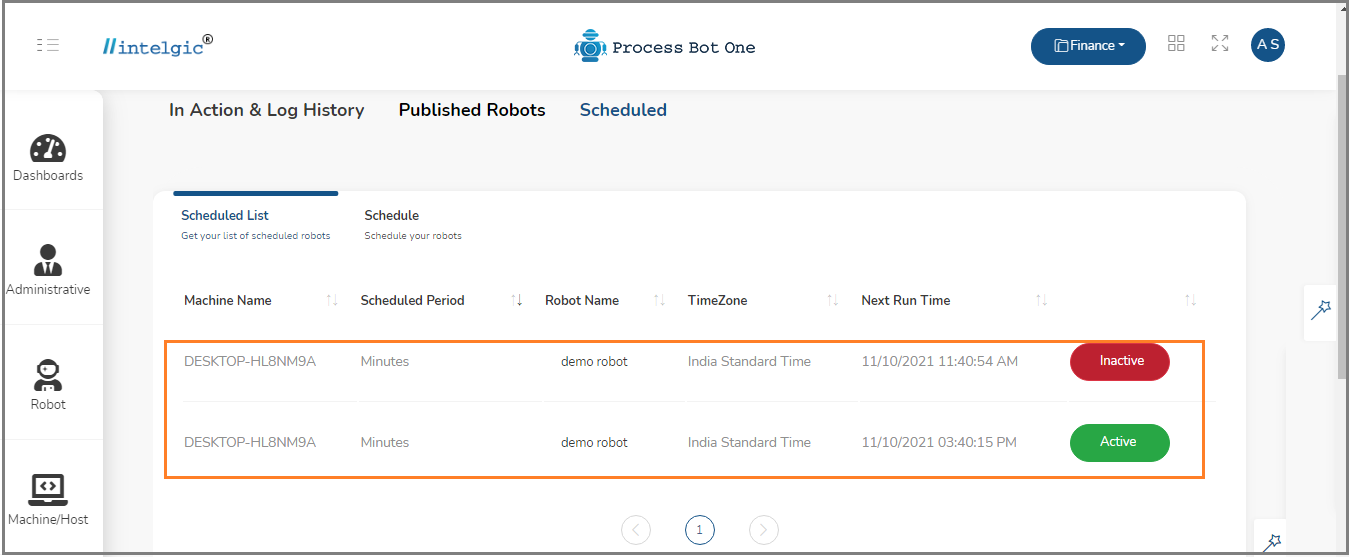
- Now at the given time interval, the robot will keep on running, and if in case you don’t want to run the robot then you can click on the Active button under the Scheduled List robot then the robot will become inactive as shown above.
- the given robot automatically runs and displays the output on the message box.
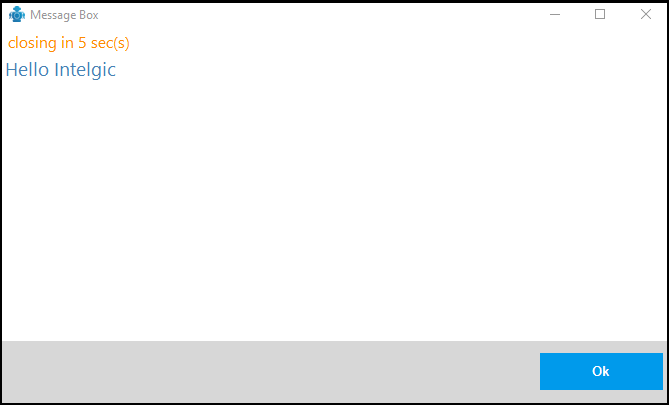
- This is how the Process Bot One will help you to run any robot without any human intervention at the given time of interval.